At this point, we'll assume that
you've downloaded one of the zip files to
a folder on your local computer (the computer where you plan to
work on your site, and into a folder that will be the "home" folder for it; often named "root" or "www"; you can call it whatever suits, but it's a good idea not to have spaces or punctuation or special characters in the folder name!
). Please double-click on the zip file which will open it in file manager, or your zip program if you have one installed.
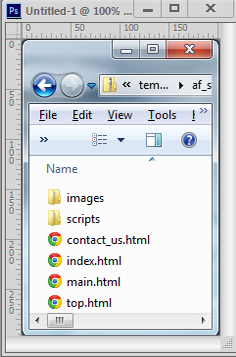 |
In this example, we're showing the files for the "static" version of either the airflytecatalog.com or airflyteproducts.com website; this part of the tutorial applies to all templates. |
Copy the files, complete with the folder structure intact, to the local folder on your computer where you plan to store and work on your website. If you change the folder structure, or omit some of the files or folders, the site will not function.
Once all the files are present in the desired folder, please double-click on "index.html", it's the "starter" file for the
site. You should see the template site you picked, and the middle buttons
should access the appropriate pages on the Airflyte Catalog web site (or Airflyteproducts.com, depending on which template you started with),
and ONLY if your computer is on-line and connected to the Internet at
the time you try this), If your computer is not on-line, the middle
buttons won't function: THIS IS NOT AN ERROR, these buttons
pull in live product data from Airflytecatalog.com (or Airflyteproducts.com), freeing you from the need to
update your site's product information!
Congratulations! You've just setup the template site of your choice
for editing, modifications, and eventually, uploading to the Internet.
Please see the rest of the tutorials.
|